Tuesday, October 24, 2017

Grace G707 + TD150 = road most travelled

Grace G707

 By the time I acquired a used Grace G707 tonearm ca. '83, it was already an up and coming classic. Classic being a euphemism for affordable since TAS and Stereophile were already waxing poetic about heavier MC cartridges from Kiseki, Koetsu, Accuphase AC-2, etc, which required more massive tonearms. 

Original AR XA  > AR + Grace G707 

I had to do irreversible hacking to my thrift store-found ARXA turntable to mount the G707. All that effort paid off since the improvement this tonearm brought to my audio system was staggering - more transparency and definition throughout the audio bandwidth. The listening experience became a lot more enjoyable! Sadly, that G707 got lost in a maze of senseless upgrades I went through for the next ten years. I held a torch for this tonearm until I found another nice sample for this time travel episode.

70s MC cartridges


 Back in the day, I could only afford the Audio Technica low output moving coil AT31E + Sony HA-T10 MC transformers. Those two items are gone, so
 accompanying us on this journey are two classic MC cartridges from the 70s that are technically matched to the Grace G707.

GAS "Sleeping Beauty" aka
Coral 777

 The sweet sounding, almost SPU-like GreatAmericanSound "Sleeping Beauty"

Denon DL103S

And the higher compliance version of the NHK broadcast standard, Denon DL103S

Thorens TD 150 

belt-drive + 3 point suspension

From my pre-college days in the late 70s until I completed my undergrad degree in '84, the listening room at the Lila Acheson Wallace Library of The Juilliard School was equipped with several rows of Thorens TD150AB/Shure M7D/Shure headphone amp + humongous Koss ear cans, while the classrooms were fitted with Thorens TD124/Dyna SCA35/AR2Ax audio systems. Nope, I don't recall seeing AR1s in the building. 😞

In the early 80s, the original AR turntable could be found for $10-25 at thrift stores, but no Thorens. One had to go to Audio or Stereo Exchange and/or the trade-in section of Leonard or Harvey Radio stores where the Thorens badge started at around 100 bills.


When I purged my belt-drive collection in the early 90s, this TD150 was the only one that I retained because it was so unattainable in the early 80s. The tonearm board already had a hole from a long gone Rega RB250 which, fortunately, shared the same spindle to pivot geometry as the G707.

Since I owned half a dozen AR turntables from stock to various stages of modification, setting up the TD150's 3 point suspension was like riding a bicycle. 😉

Thorens TD150 + Grace G707

My reunion with the TD150 + G707 was bittersweet. I caught a glimpse of the "black background" atmospheric setting for the Reagan-era audiophile ideal - the 3D sound-stage phenomenon that is supposed to transport the listener on a magic carpet ride to Carnegie Hall. Ironically, this was achieved at the expense of dynamics, articulation and definition, which are vital elements also expected from a live musical performance. Things could have been much worse if I were still using negative feedback infected tube electronics driving inefficient speakers. But let's not go there... 😧

In search of a more stable platform...

Thorens TD 124 + Rega RB300

By the time I finished grad school in the late 80s, the audio systems at The Juilliard School had been upgraded to include CD players. The Thorens turntables were retired and replaced by Denon direct drive turntables with servo tracing tonearms. Meanwhile, I had acquired a Thorens TD124 and knew its speed/pitch stability was superior to my heavily modified AR/Merrill turntable but I would never admit that to my audiophile friends. 😃

Given the wisdom I've gained (or not) through the years, the Grace G707 deserves a more stable platform....stay tuned.


Wednesday, October 11, 2017

JE Labs Simple 46


I've been hoarding type 46 power tubes gathered from radio shows I attended with my buddy Chong in the late 90s. Building an SE 46 amp was in my to do list when I packed up for Manila in '08. But things got in the way. Finally, after a round trip across the Pacific, the amp has come into fruition.


Given its designation, one would think that it is just a 45 with dual grids. However, aside from the UX-5 tube socket requirement, the 46 is not quite a 45. It only puts out 1250 mWatts, 750 mWs less than the 45's 2000 mWs. Maximum plate dissipation with grid 2 tied to the plate is 5.5W compared to 10W for the 45. Although it will perform very well loaded with a 5k primary Z output transformer, the textbook recommended load is closer to 7k, due to its higher plate resistance of 2380 ohms vs. 1700 ohms for the 45.

46 tube base
diagram

chassis is punched out and ready for painting

It's been over 20 years since the Simple 45/2A3 was uploaded to the now defunct DIY section of the old Angela Instruments website. So I wanted to reprise that old-school topology with a twist. I considered retaining the octal base and using a grid capped 6F5 or a UX6 based + grid capped type 75, as a tribute to Asano-san. 🙏


However, since I am in loctal mode, I settled on the 7B4 hi-mu triode which is more in unison with the simple theme. The 7B4 is readily available NOS and can be had for less than $5 each from tube dealers. Tube rollers take note, even if loctal tubes are boxed/labelled RCA, Tung Sol, Raytheon, etc. most of them came from the Sylvannia factory in Emporium PA. 😞 

under the hood


!!!WARNING!!!

The voltages found in this circuit can be lethal! Build at your own risk!!!


JEL Simple 46 schematic

Adjust the dropping resistor* (use at least a 10W) so that the operating point for the 46 tube is as close as possible to the tube manual specified 250V max. plate voltage x 22 ma. current draw = 5.5W.  Ideally, the 46 should see 285 volts at the plate - 35V in the cathode = 250V. As shown in the schematic, I am still running my output tubes about 8% over because I was anxious to listen and got lazy to lower the B+ further. 😎


The big surprise was, subjectively, the triode-wired 46 sounds more powerful and authoritative especially in the lower register than the 45. It sounds like the union of virtues between the dark and mythical 10/VT25  + the refreshing airiness of a 45. I've been listening to this amp for over three months and haven't had the itch to switch on my other amps. 😄

CODA


Left to Right - Globe 46, ST 46, ST 45 and 2A3

Globe tubes look really cool and usually sound more lush than their ST counterparts. I personally prefer a Globe 45 over the later ST glass bottled samples. However in the case of the 46, the difference is not as apparent and close to negligible to my ears, So save your $$s and do something less nerdy, like going out on a date. 😉

Addendum


I received this email recently from a seasoned DIYer/audio enthusiast known in various audio forums as Salectric.

"I just saw your blog post about your Simple 46 amp and I read the question someone posed in the Comment section about a suitable power transformer. I actually had Edcor build a custom PT for my 46 amps and the voltages worked out perfectly so I recommend it to anyone wanting to build a 46. I don't know if the particular unit is listed on their website but it should be available through the part number which is the Edcor XPWR 258-120.

The B+ windings have two secondary voltages. It is 345-235-0-235-345 @ 300ma. The purpose of the two voltage taps is to let the transformer function for either choke input or cap input. The lower voltage windings with a 5U4GB and cap input filter give a roughly 290v B+, and so do the higher voltage windings with a 5R4GY and choke input. With a little loss in the OPT and a 32v bias, the 46 has almost exactly 250v across it. There is also a 5V@3A and 6.3VCT.

I ordered it this way because I wanted to compare choke input and cap input with as close to exactly the same conditions as possible. (I tried a 5U4GB with the choke input as well as cap input just to be as consistent as possible.) The best sounding setup was the choke input with 5R4GY so that's how mine is set up. The Edcor is super-quiet. No mechanical buzzing at all."


Wednesday, October 4, 2017

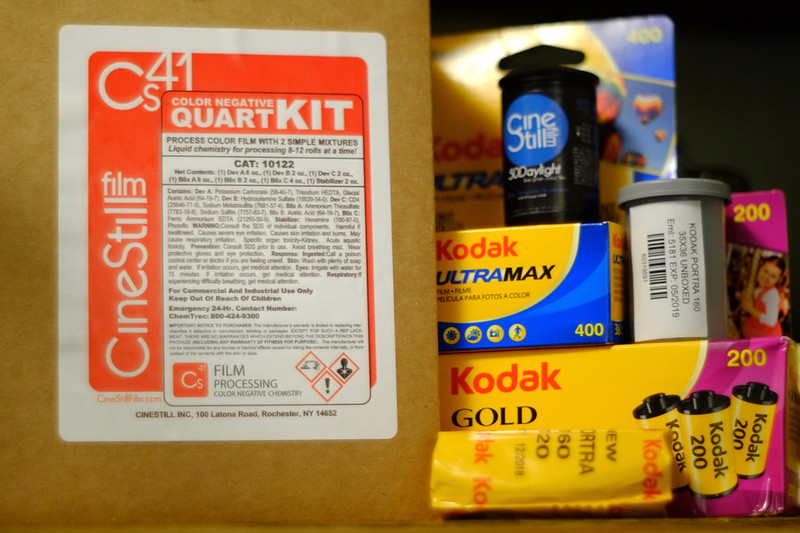
Cinestill Cs-41 Color Film Developing Kit


Intrigued by an e-newsletter from Freestyle Photographic Supplies, I ordered this color film processing kit, which promised to be just as straightforward as developing B&W film.

Mixing the Chemicals


Developer = 20 oz of distilled water heated to 120° F + Parts A, B & C to make 1 quart

Blix (Bleach/Fixer) = 18 oz of distilled water heated to 125° F + Parts A, B & C to make 1 quart

Preparation


As suggested by the Cs41 website, I got a $25 foot spa from Walmart as a tempering bath for the chemicals and the developing tank.


Temperature is most critical with the developer. Since the foot spa is just a tempering bath and does not heat up water, I filled it up with hot water from the tap, which was between 105-110°F.


Meanwhile, I filled up a pot with hot water from the tap and heated up the developer in this water bath on the stove to my chosen 102° F developing temperature.

Pre-wash


 I did a pre-wash to stabilize developing tank temperature at 102°F.

Developing


The developer is ready.

I dumped the pre-wash and poured the developer into the tank. I developed for 3.5 minutes doing 4 inversions every 30 seconds. Tank is submerged in the bath in between inversions.


Developer is poured back into the container. I turned off the foot spa since the Blix stage is not as temperature sensitive.

Blixing


Blix can be used anywhere between 75°F-102°F,  so 90.9°F is perfect.

I filled up the developing tank with Blix and did 4 inversions every 30 seconds for the next 8 minutes. After 8 minutes, the temperature inside the developing tank would be just about equivalent to room temperature tap water, which will be used for the wash/rinse cycle.


Blix is poured back into the container.

Wash and Rinse 


I filled up the tank with room temperature tap water, did 5-10 inversions and then dumped the water. Repeated this at least 7 times.

Photo-flo


Filled up the tank with fresh tap water (or distilled) and added two drops of photo-flo or the stabilizer from the kit. Left it standing for at least a minute.

Hang to dry


I let the film dry for at least an hour.

Developing at other temperatures


As shown in the above chart, processing can also be done anywhere from 72°-102° F, but developing time can take as long as 50 minutes at colder temperatures.

The Cinestill Cs41 color film developing kit is just as fool-proof as B&W film processing. The only difference is that they are at both ends of the temperature spectrum. Since I've relegated taking color pictures to my trusty Fuji X-E1, I've seriously been considering an upgrade to a full frame digital body. However, this recent experience processing color film has taken the upgrade itch away...😊

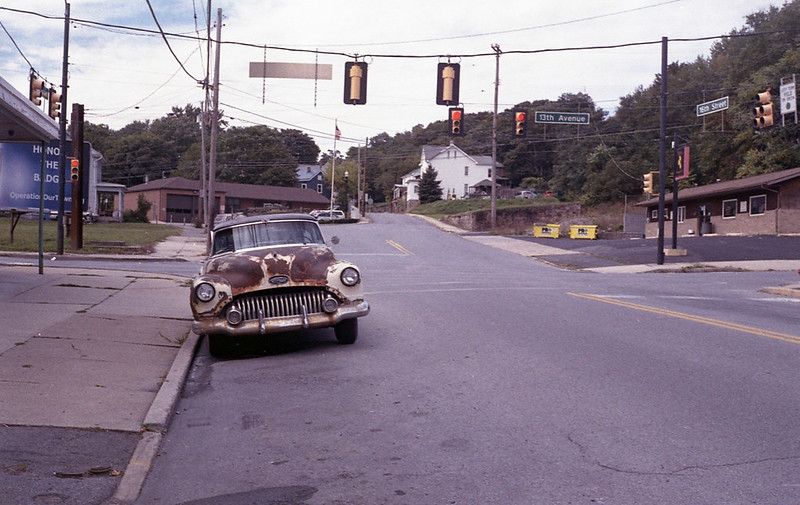
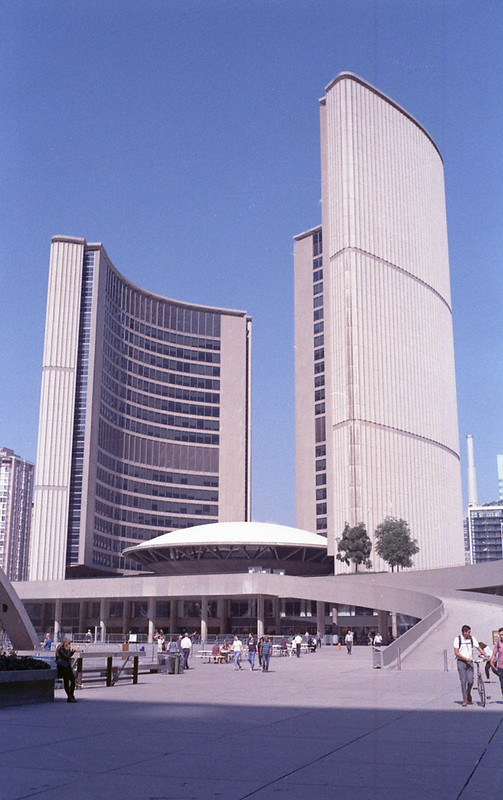
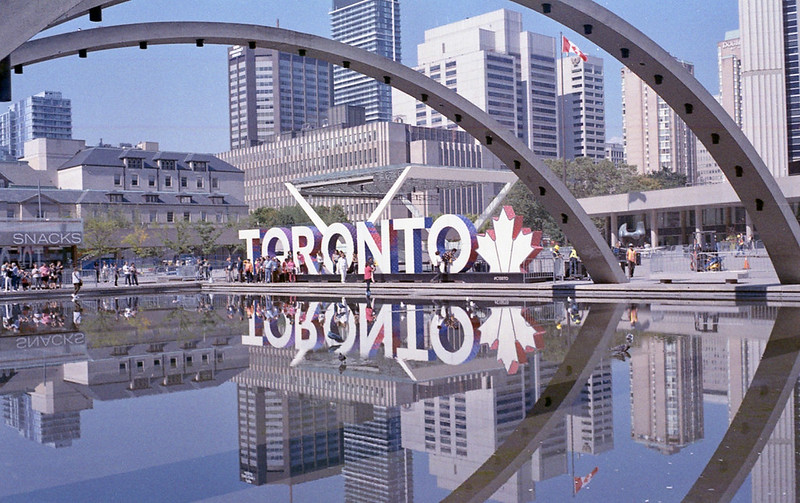
Sample pics


Rollei 35 + Kodak Gold 200

Rollei 35 + Kodak Gold 200 

Rollei 35 + Kodak Gold 200

Rollei 35 + Kodak Gold 200

Rollei 35 + Kodak Gold 200

Nikon FG20 + Nikkor E series 50mm f1.8
Expired Fuji Color 100 

Leica M6 + Summicron 35mm f2
Kodak Portra 160

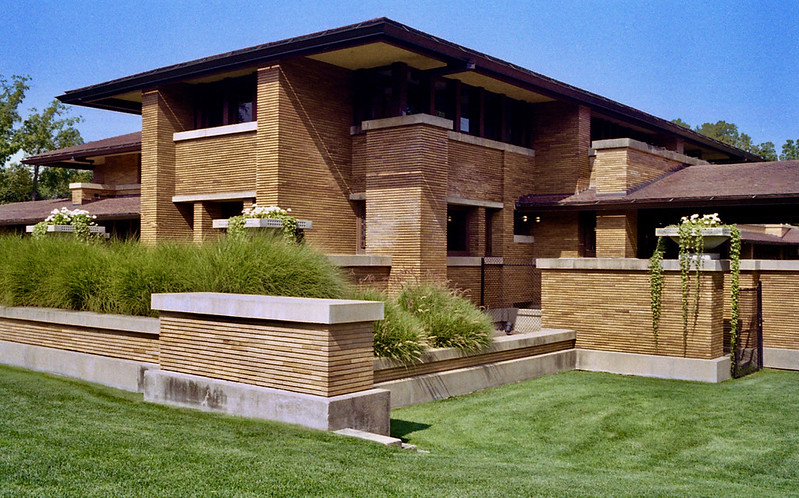
Darwin D. Martin House
by Frank Lloyd Wright
Buffalo, NY


more pics