Friday, April 20, 2018

M42 camera bodies and lenses


A quartet of M42 SLRs
Between 2016-2017 I acquainted myself with these mechanical M42 SLR cameras and lenses. These four camera bodies left a lasting impression on me for personal, historical and sheer shooting pleasure along with the lenses I used them with. Aside from shooting film, I also adapted the lenses to my trusty Fuji X-E1.


Yashica Penta J + Yashinon 5cm  f2
I have a special affinity for the Yashica Penta J since my dad taught me how to take pictures using this camera. This was the first M42 mount body produced by Yashica. It doesn't have a light meter and the shutter speeds are limited from 1/2-1/500 + B but the viewfinder is fairly bright (at par with the Pentax Spotmatic) assisted by a split image focusing screen. The standard Yashinon 5cm f2 lens is rather special and has caught the attention of aficionados which has driven its value up recently.


Pentax Spotmatic SP + Super Takumar 50mm f1.4
This is the camera most closely associated with the M42 mount. It gets more credit for popularizing the M42 screw mount than the much earlier Zeiss-developed Contax S later known as the Pentacon SLR, shown below. It is similar in size to the Yashica above with a similar spec'ed viewfinder but equipped with more comprehensive shutter speeds from 1s-1/1000 + B. The built-in light meter is broken on this flea market find. I bought this camera primarily because of the sought after Super Takumar 50mm f1.4


Pentacon ZI + Isco-Gottingen Westagon 50mm f2
Pentacon F + CZJ Tessar 50mm f3.5
These two immediate descendants of the Contax S were manufactured in the former East Germany by Pentacon in the 1950s. They have a rather interesting shutter speed selector arrangement. There's a switch in the back which selects between slow (B-1/20) and fast (1/50-1/1000) shutter speeds. The shutter speed indicator wheel located behind a plastic window spins when the shutter is released. A very neat feature! Handling this camera is reminiscent of Leica screw mount bodies including the knob wind film advance. However, the compact and light body is ultimately let down by a rudimentary ground glass focusing viewfinder (tip: best used on a sunny day) and there's no instant mirror return. It was a time capsule shooting experience with these two cameras.

More info on Contax/Pentacon 35mm SLRs.

Fujica ST801 + Zeiss Jena Tessar 50mm f2.8
A very sophisticated mechanical M42 camera, the Fujica ST801 was very much ahead of its time. It sports a compact body, bright viewfinder fitted with a split image prism, 1s-1/2000 (!) shutter speeds + B with a built-in light meter which uses a 6V battery that is still readily available. This is my pick of the lot!

Lesser Fujica siblings
The Fujica ST701 has a top speed of 1/1000 and the light meter requires the obsolete Mercury cell. While the entry level ST605's light meter works with modern batteries, the top shutter speed is only 1/750. Nevertheless, these two cameras share the same compact body and bright viewfinder with its top of the line brother - ST801.


M42 lenses

Thursday, April 5, 2018

Garrard 301 - minor restoration

ca. 2003

I acquired this early grey grease-bearing model at a Hamfest around '96. I was the only person willing to shell out $240, which was the firm asking price of an elderly gentleman.

Attic - ca. 2009

It travelled back to Manila with me in '08 where it had to endure the extreme humidity of the tropics. Despite the adverse conditions, its performance remained very stable during the 8 years spent there.

The original grey hammer tone finish had deteriorated due to corrosion so I asked my assistant to mask the important mechanical bits. 😉


I think she did a pretty good job. What do you think? 😁


I used Rust-oleum silver hammerite spray paint which is a lighter shade than the Garrard original.  


I cleaned, flushed and re-packed the main bearing with 2 NGLI grease. The motor had no issues, so I just put a few drops of oil. Unlike the E50 motor in the Thorens TD124 which needs periodic motor servicing, I've never opened the motor on this 301.


When I acquired the unit, the power switch was already broken. I've had this spare speed selector switch in my parts bin for over 15 years courtesy of my buddy Joel. While waiting for the paint to cure, I cut and filed it down to function as a power switch.

Not a bad fit. 😎


I cleaned up 15 years of dust and soot build up on the plinth and then applied sealer and wax.


Here's to many more years of service! 🍻

Sunday, March 25, 2018

XtremPro X1 USB DAC

I was too wound up after playing a gig one winter Sunday evening. Watching episodes of the Grand Tour over a couple shots of Ballantine Scotch Whiskey was not enough to relax my mind. So I ended up "window" shopping on Amazon. 

This tiny USB DAC piqued my interest and I thought I could use it for my Lenovo laptop. Given that the above specs were very similar to my current AQ Dragonfly Black at less than 1/3rd the price, I bought it and called it a night.

 A shootout with the AQ Dragonfly Black was inevitable. I will just admit outright that this $29.39 USB DAC blew away the Dragonfly Black! The XtremPro X1 is more dynamic, transparent across the audio band and extended at both frequency extremes. Although I'm just a casual headphone listener, the healthier output voltage of the X1 was also an advantage through my 90s vintage Grado SR60 cans. 

Unfortunately, the XtremPro X1 does NOT work with iOS devices as-is (see update below) but there were no issues with the aforementioned Lenovo and my 2013 MacBook Pro. 

Apparently, this USB DAC has had quite a following in Europe

Important Update!

As suggested by a kind reader, Miguel (see comment below), 
this issue
can be by-passed through a generic 2 port USB 2.0 Hub. This Eyeboot model from Amazon did the job for $5.99. 

How to:

Plug the 2 port USB hub wall wart to an AC source,  
XtremPro X1 DAC > 2 port USB hub > iOS camera adapter > iOS device, plug your headphones to the 3.5mm socket or connect to your preamp or integrated amp, happy listening!

XtremPro X1 + Eyeboot 2 port USB Hub = great value for the money!


Thursday, March 8, 2018

Audio Silente parts for the Thorens TD124 + Mk. II

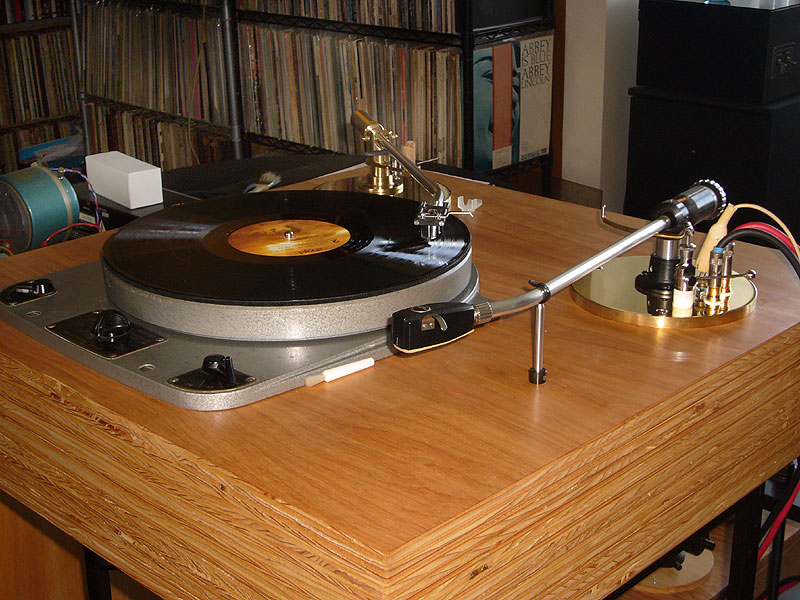
Thorens TD 124 Mk. I + Stax UA3NL

My Thorens TD 124 Mk. I and Mk. II have seen so much action and deserved pampering.

The heavy iron platter created a "dome" on the main bearing end cap of the Mk. I.

Both sides of its original Nylatron thrust pad were dented. So this past weekend I went on eBay and ordered two sets of 6mm bronze end caps that each came with two plastic thrust pads and gaskets, an idler wheel + a few other TD 124 bits from Simone Luchetti of Audio Silente.

Backyard around 11am, 3/7/18

Shipping was swift, the parts were delivered by FedEx from Rome, Italy yesterday morning before the height of the blizzard.

I started work on the main bearing of the Mk. I.

Fit and finish are first rate!

Since the unit was already on the work bench, I cleaned and lubricated the motor also.

Although the original main bearing end cap on the Mk. II was not as dented as the Mk. I, I also replaced it for future generations. 😁

Given the attention to detail Swiss engineers put into the design of the TD 124, that flimsy main bearing end cap was a gross oversight. The finely machined 6mm bronze end cap from Audio Silente definitely adds structural integrity to the main bearing. I also noticed that the platter spins at least twice as long after the motor is shut off = less friction. 

While testing the Audio Silente idler wheel on the bench, I realized that even if the rubber was still supple on my original idler wheels, the bearings were not as silent as the Audio Silente idler, perhaps due to wear. While deciding whether to order another idler wheel from Simone or Oilite bearings from the Spanish guy, we lost power...😞

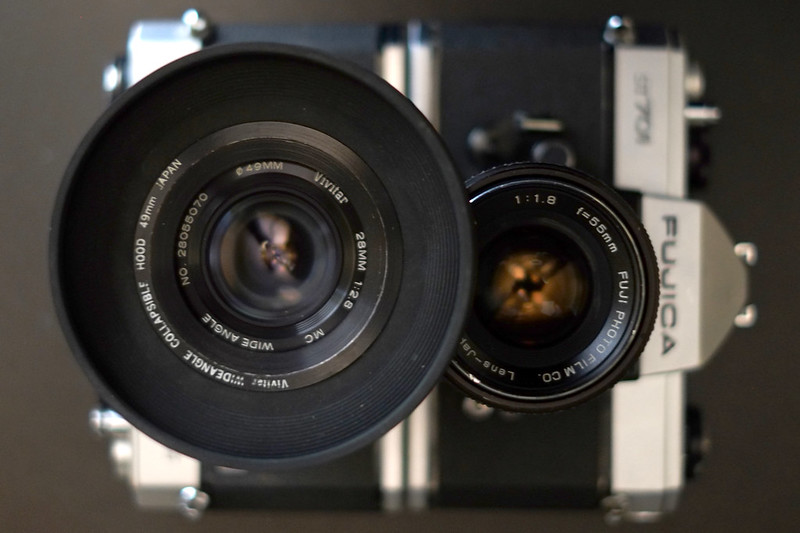
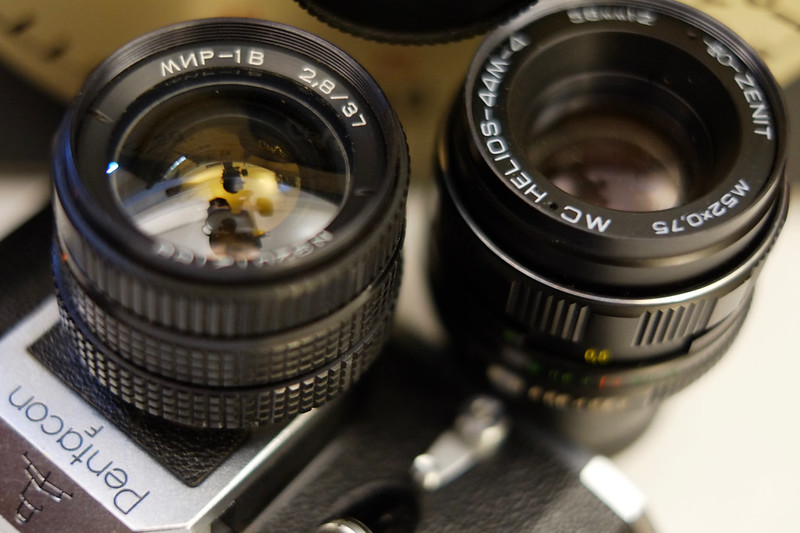
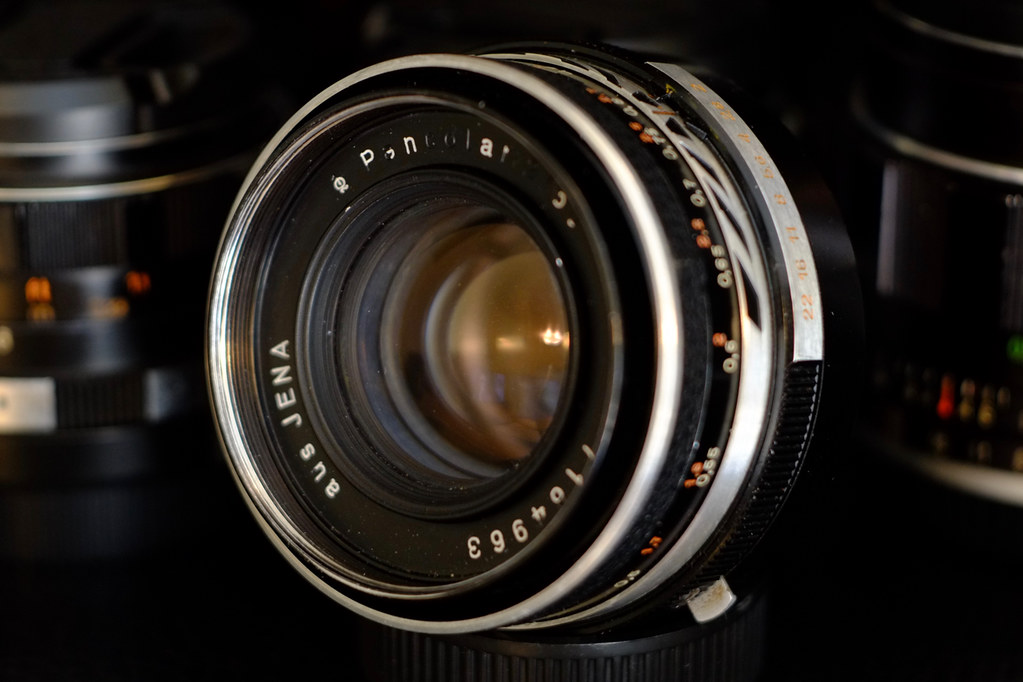
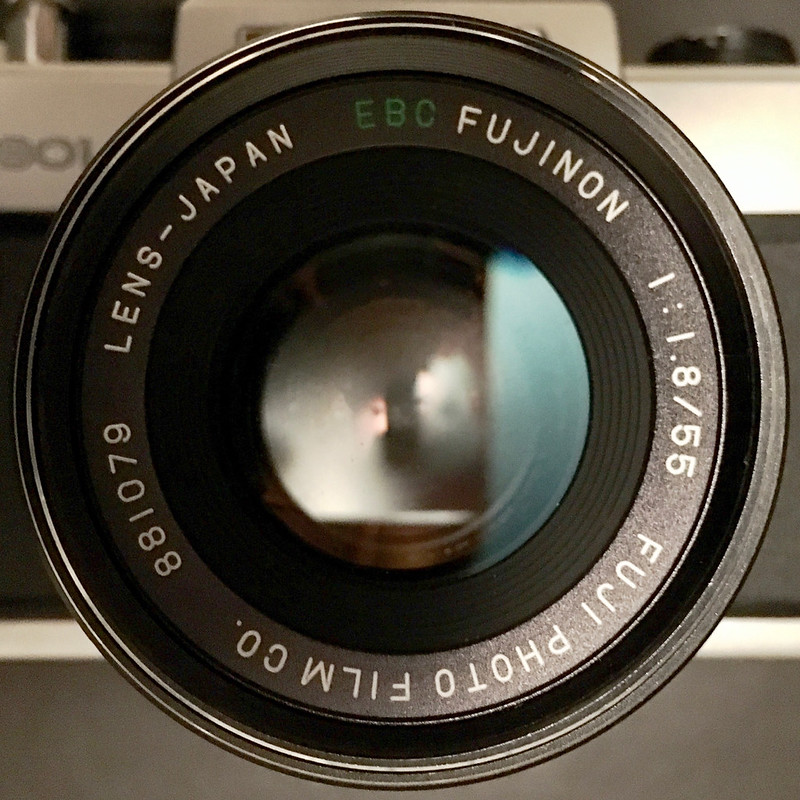
With about 2 hours left of daylight, I consoled myself by looking at audio porn. 😎

Thorens TD 124 Mk II + Audio Technica AT1501-II

 The idler wheel comes with 3 extra O-rings - 2 red and another black. Because the pre-installed black O-ring already starts faster than my stock idler wheel,  I did not try the red silicon O-ring which is supposed to give an even quicker start.

The Audio Silente idler wheel truly lives up to its company name. I had never been able to bring the performance of my TD 124s to this level of silence.  


Bravo Simone!


Reference


 For maintenance and restoration information, visit The Analog Dept. Thorens TD124 webpage!👍👏 

Tuesday, February 20, 2018

Conquering RFI in the 2C22/7193


Noisy and unstable 2C22/7193

Moving closer to civilization, this lovely sounding triode used as a voltage gain stage in my SE2A3 mono integrated amp had stability issues due to RFI. 


Since I persist in using these antediluvian devices, I had to find a solution.


A 150 ohm 1/2W CC resistor with the leads cut short soldered in series with the grid cap (insulate with heat shrink tubing) >> shielded cable terminated by an RCA plug (shield connected only at the RCA jack side) >> RCA jack (barrel grounded to chassis) solved the stability issue.

A well behaved 2C22/7193