An important lesson I learned as a classically trained violinist was that music theory evolved from the analysis and study of great masterpieces from Bach to Bartok. Great composers broke theory to reach new heights in musical expression. Just like any artistic pursuit, music continues to evolve through individuals who are not afraid to go against convention for a greater good!
On the other hand, audio engineering, for the most part, has always been theory driven. Audio design simulators are significant modern conveniences but don't guarantee musical-sounding circuits even if the metrics look great. Creativity in audio design is when human ears are still the final arbiter, at least in my experience and opinion, which is why my hifi system is a hodgepodge of mostly obsolete technology, some of which date back to almost a century ago.

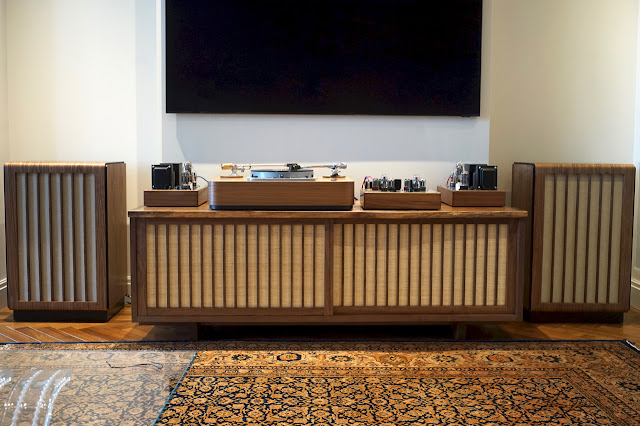
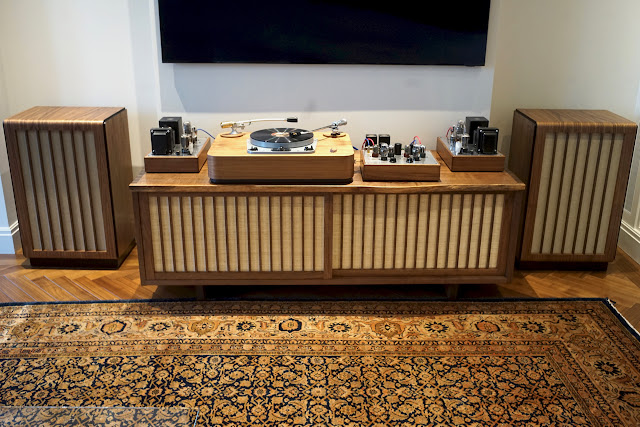
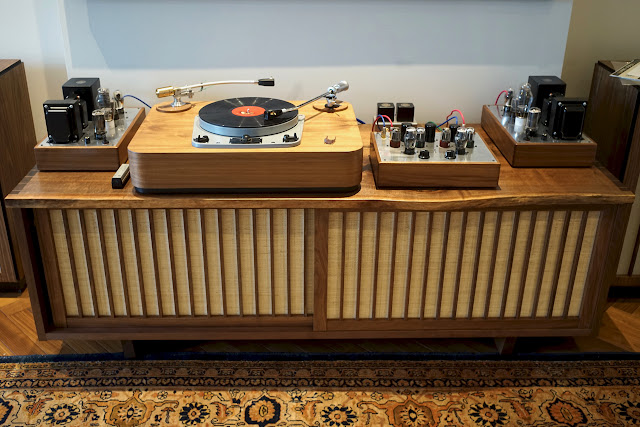
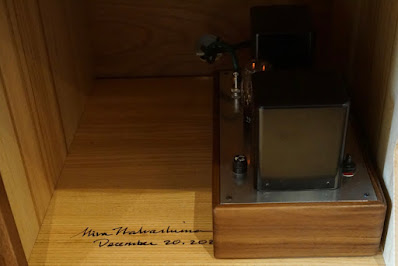
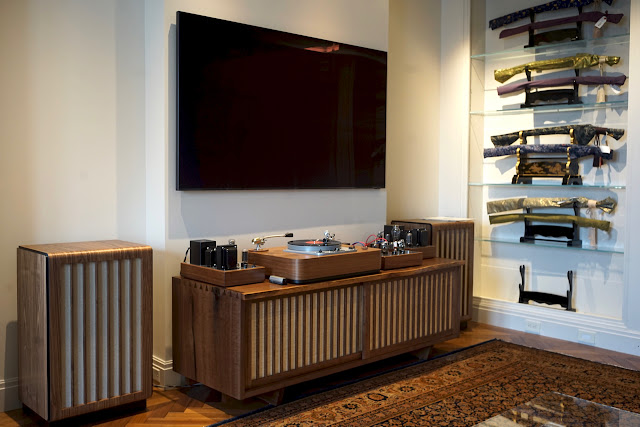
Last year, a Juilliard-trained pianist turned lawyer visited my man cave and listened to various amps + a couple of speakers I built. On his second visit, he brought his amps for comparison. At the end of that session, he commissioned a pair of Altec 753C speakers, the second pair I built in collaboration with John Piro of Hommage Audio, who crafted the speaker cabinets.

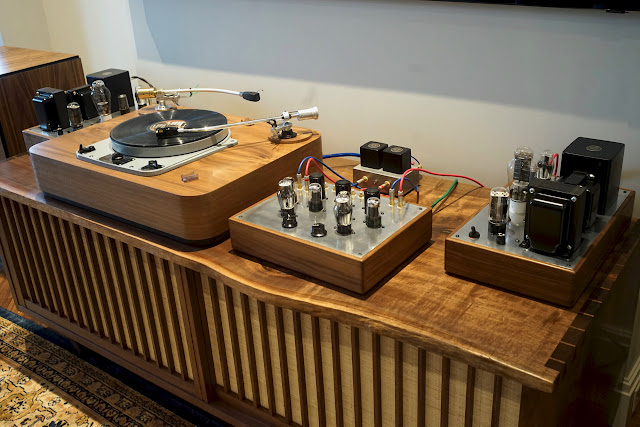
The chosen amp was the Radiotron SE2A3 - a topology from the pre-WWII Radio Designer's Handbook, 3rd edition. This circuit was from an era in which calculators were but a dream and engineers computed complex equations aided by a slide rule.
!!!WARNING!!!
The voltages found in the following circuit can be lethal! Build at your own risk!

Although this pentode-driven circuit sounded fine as is, to my ears, its fullest potential was only realized after I adjusted the plate and screen grid voltages to achieve a 2:1 ratio as suggested by my Ukrainian internet buddy, Sergey Didkovsky in the winter of 2007.
"Try please, to increase the cathode resistor (1,2k-1,5k ohm) and reduce anode resistor (to75k-82k). It will allow to increase Ua up to 150V and to receive Ua:Ug2 = 2:1 ratio. The sound should become more 'interesting and old.' That is especially good for jazz. Still mine 5 cents...use good NOS oil capacitors in G2. I use TCC Visconol. I think oil caps in the grid - adds bass. Reduction of the anode resistor - improves the hi range a little."
I'm pretty sure the 2:1 ratio wasn't a number crunched by a simulator, it was a figure painstakingly chosen by Sergey's ears because of his love for music!

Sergey, wherever you are, I pray that you and your family are safe. Freedom-loving people around the world are very grateful, yet very sorry that Ukraine is all alone in shielding the free world from the atrocities of a megalomaniacal autocrat!